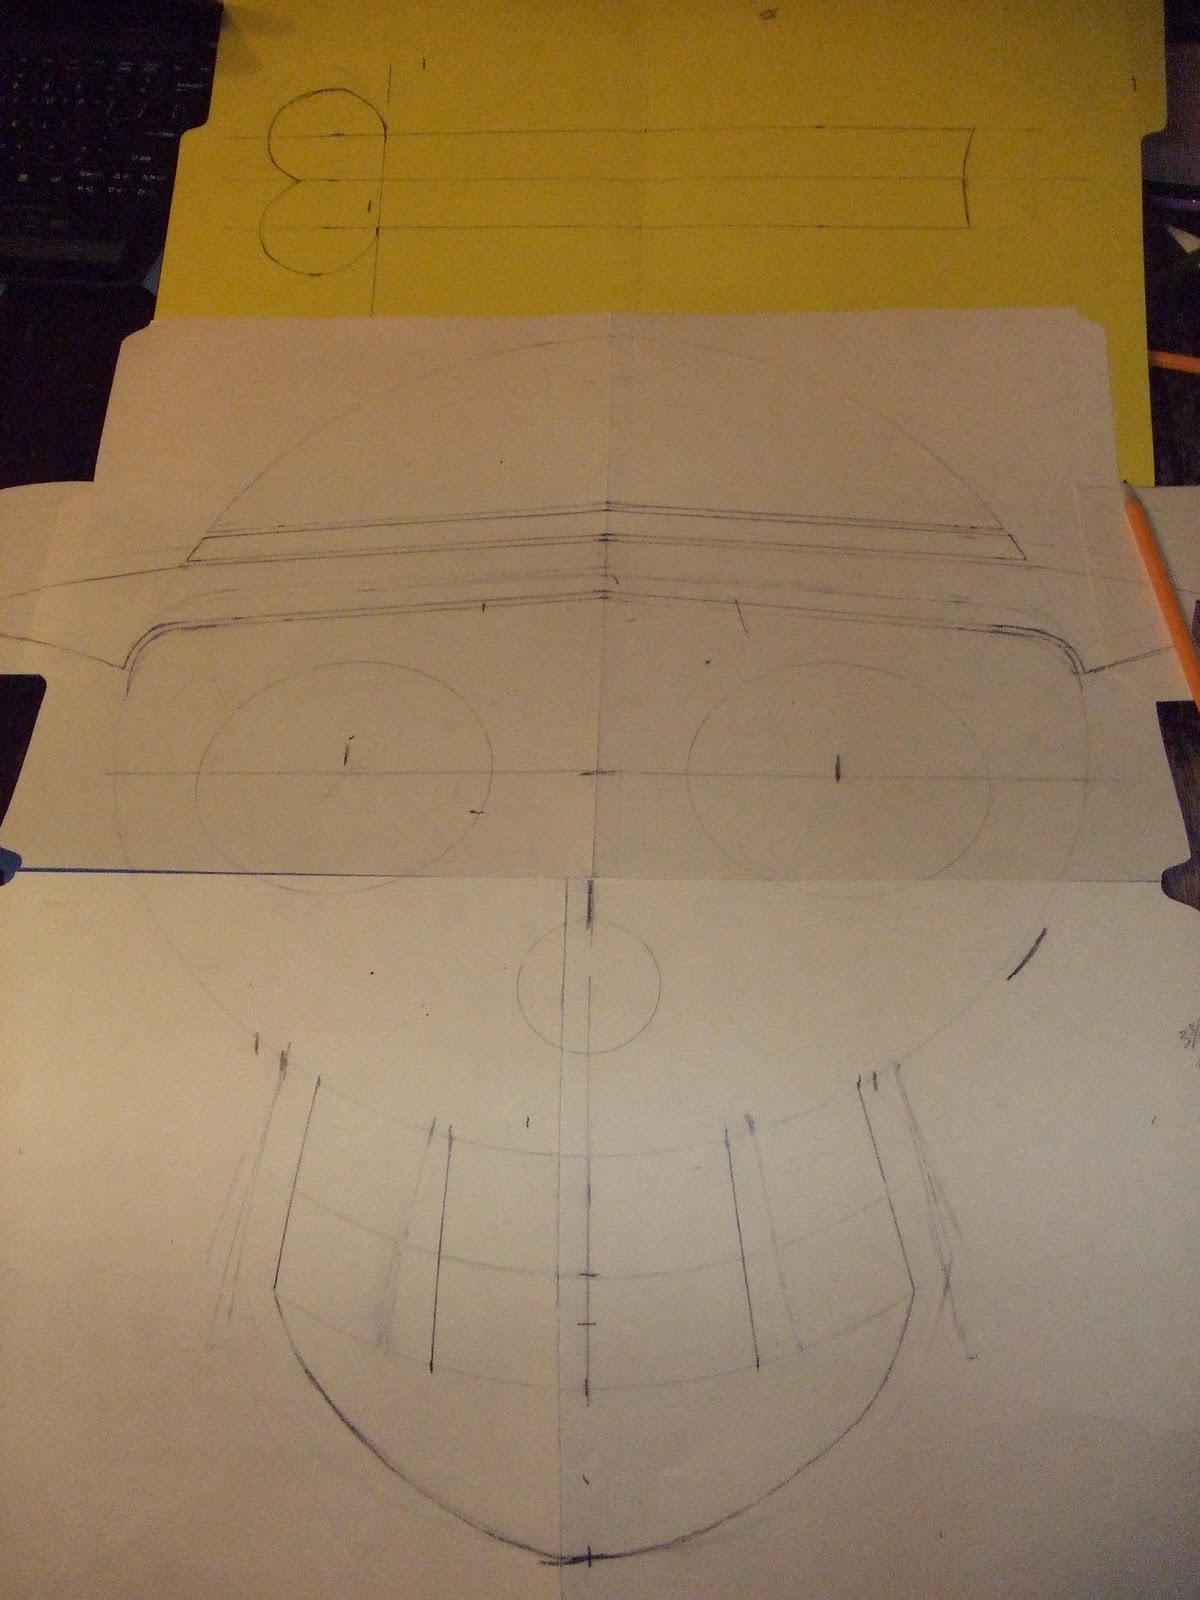
This was more of a challenge and took way longer to lay out than the Kuju Flag. But a lot of it was still circles. A compass and a straight edge were my main tools. Once I got the basic shape I then separated all the pieces with an 1/8 inch gap. You can see it's done at the top of the picture, but not with the teeth yet. Once I had it all laid out I had to cut out all the pieces. I was very careful to label each piece with the color they are supposed to be, and the teeth with their location. So now I had to attach the Heat n Bond to all my different colors, then place my patterns on them and cut em out. And I made a classic mistake. Most pieces have no side they work either way, but the teeth need to be laid out backwards to work. I cut out a set the wrong way. Doh.

Here I lay out my patterns, trace them, and cut them out. I found that cutting out the eyes and nose was easier if I stuck a sharp knife into the piece and turned the piece into my knife.
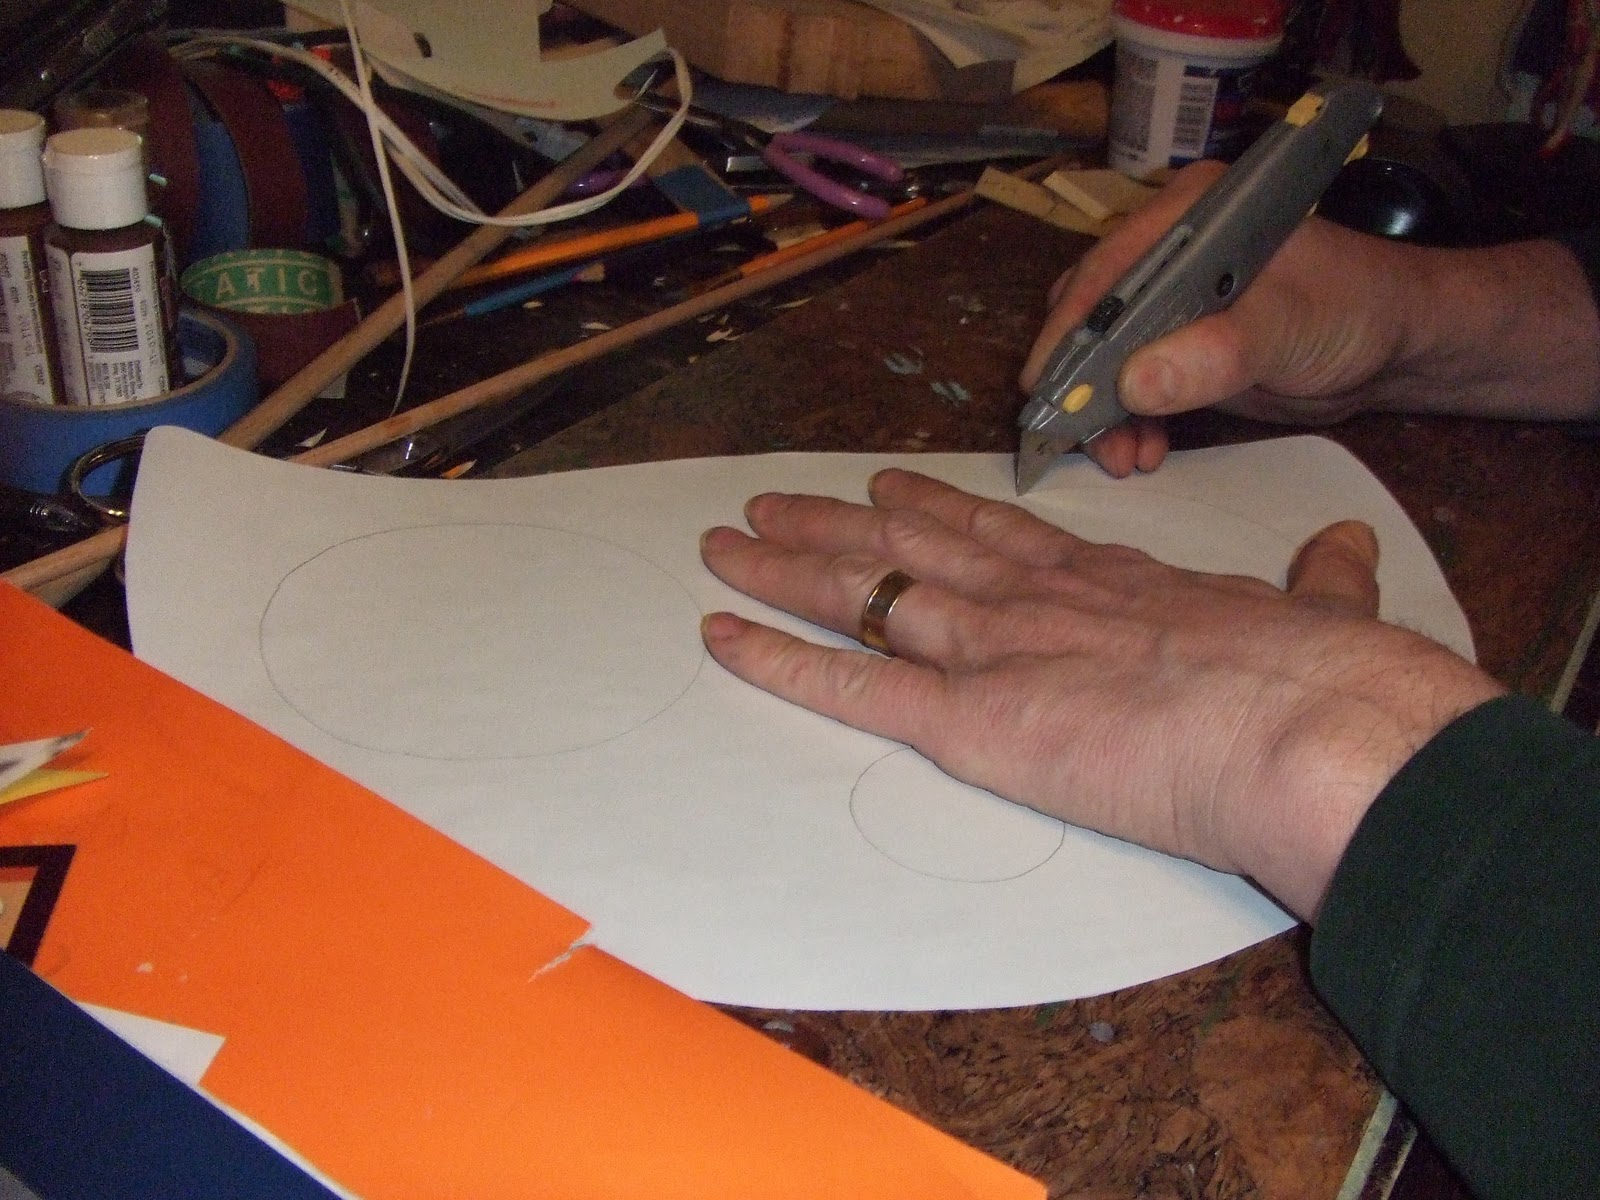
It's safer cause the knife is stationary and it seemed easier and more accurate. You do need a very sharp knife, in this case a utility knife with a new blade. The surface I'm working on is a piece of cork laminate flooring, a very good surface. Anyway, I cut it all out, time to lay it out on the flag.

First thing is find where the center of the flag is with a tape and put the part of the skull between the eyes right there. I worked my way out from the center, to the hat then the teeth, then the bones. To try and orient the cross bones I laid a straight edge across the whole flag. So I ironed away and here is the result.

The photo looks pretty good, but the light colors on the black don't look quite as good as the black on red of the Kuja Flag. I still think this is pretty cool, and though time consuming, not all that hard. Maybe a thicker weight nylon might look a bit better against the darker colors. I'll let you know, but making flags is cool. Next, some cosplay weapons.
No comments:
Post a Comment